As the increase of internet data stolen threat, nobody wants to access the insecure website. So it is important to certified your site with an SSL certificate.
Why we need an SSL Certificate?
Google likes a secure website. It helps to increase your website’s SEO rankings on Google and other search engines with an SSL certificate. Google shows all non-SSL websites as “Not Secure”. This means that if you are not using an SSL certificate on your website, then you’ll lose customer’s trust.
How to Install Free an SSL certificate?
There are several non-profit certificate authorities like Let’s Encrypt that distribute SSL certificates for free.
If your hosting provider doesn’t want to integrate Let’s Encrypt, but does support uploading custom certificates, you can install Certbot or sslforfree on your own computer and use it in manual mode. We don’t recommend this option because it is time-consuming and you will need to repeat it several times per year as your certificate expires.
Let’s Encrypt CA issues short-lived certificates (90 days). Make sure you renew the certificates at least once in 3 months.
Here are the steps to install Let’s Encrypt on shared hosting using SSL For Free:
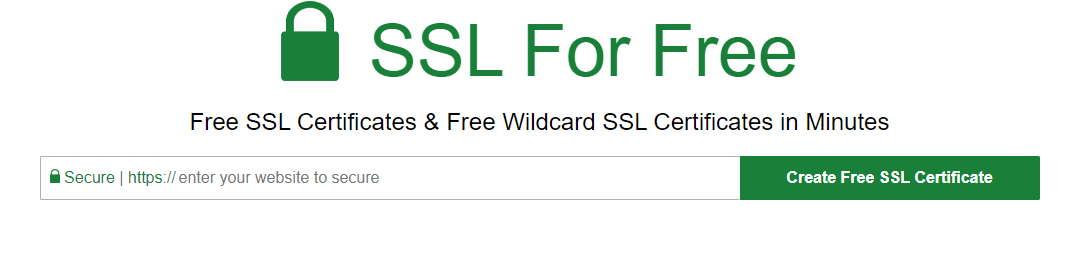
- On SSL For Free homepage, enter your website’s URL and click Create Free SSL Certificate.
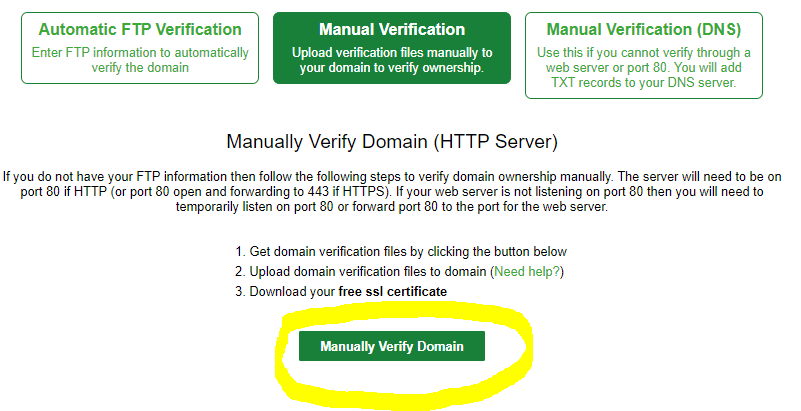
- After Clicking on the “Create Free SSL Certification” button, you can see three buttons. Select Manual Verification, then press on the Manually Verify Domain button that appears at the bottom.

- Find the Upload Verification Files. Download the verification files, File #1 and File #2, listed on number one to your local storage. Do not close the page.

- Access File Manager from your CPanel dashboard, then go to your root directory. In most cases, it’s public_html.
- Create a new folder named .well-known, and another one called acme-challenge inside the newly created folder. Upload both verification files (which you downloaded in the above step) to the acme-challenge folder.

- Navigate back to the SSL For Free Upload Verification Files page and click on both verification links listed on number five. If the verification process is successful, random alphanumeric characters should appear on your screen both times. If not, recheck the files’ paths to ensure you have placed them in the correct location.

- Click Download SSL Certificate to generate three sets of keys — certificate, private key, and CA bundle. Write them down as you will need them in the next step.


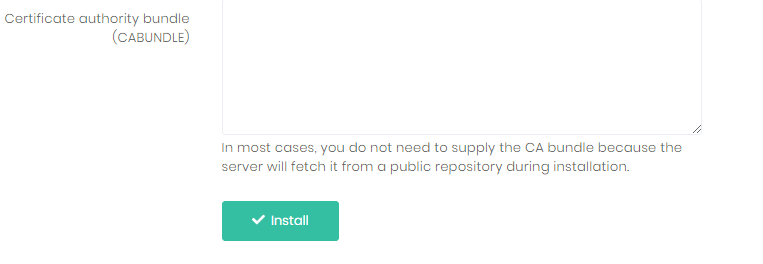
- Moving back to your hosting account, access the SSL menu under the Advanced section. Paste the keys you have obtained to the appointed boxes, then click Install.
- If everything was fine then you can see the secure symbol on your site.